Execute code in the editor
The @tool directive allows us to execute code in the editor.
This is a convenient preview function. It allows to:
animate nodes directly in the editor
to create nodes programmatically and interactively
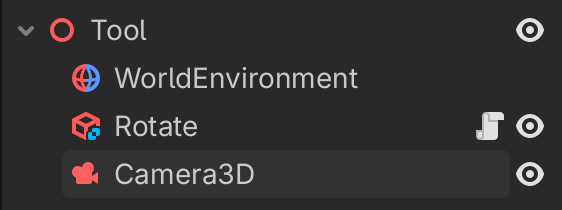
Rotate a box
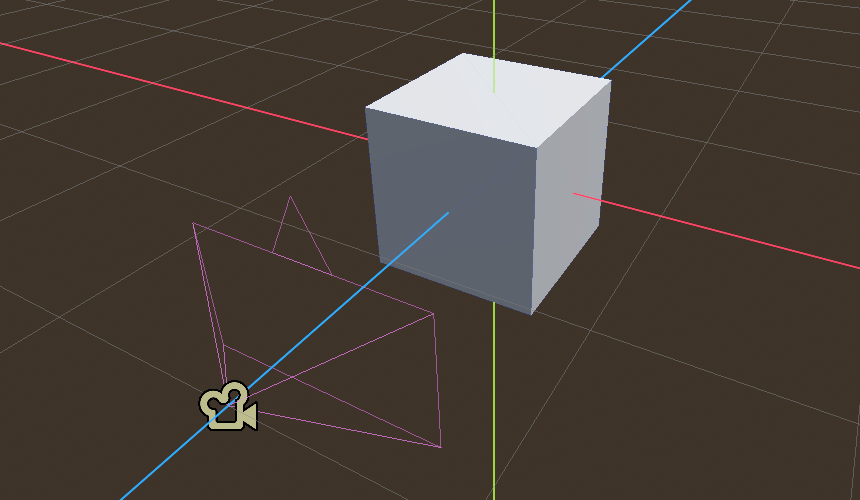
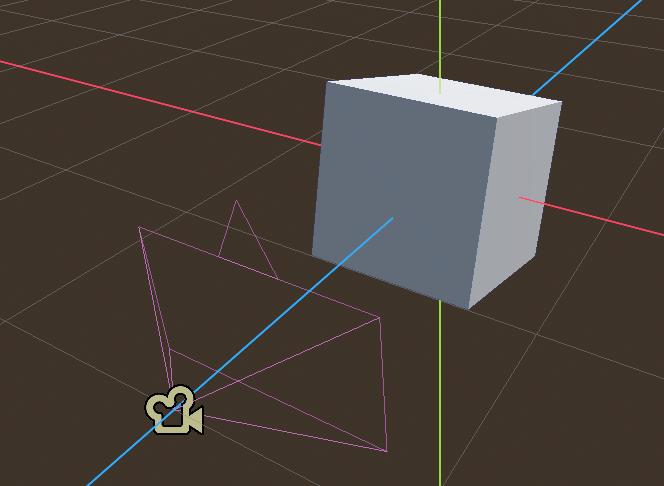
To show how to create a rotating cube, create a new scene with the following nodes:
a
Node3Das a base node calledToola
WorldEnvironmentto have lighta
CSBBox3DrenamedRotatea
Camera3Dto see the object (moved backward 2m along the z-axis)
This is the static image you get in the editor.
Add a script to the Rotate node, which appears as a white script icon.
The script makes the box rotate around the x-axis.
extends CSGBox3D

var speed = 1

func _process(delta: float) -> void:
	rotation.x += delta * speed
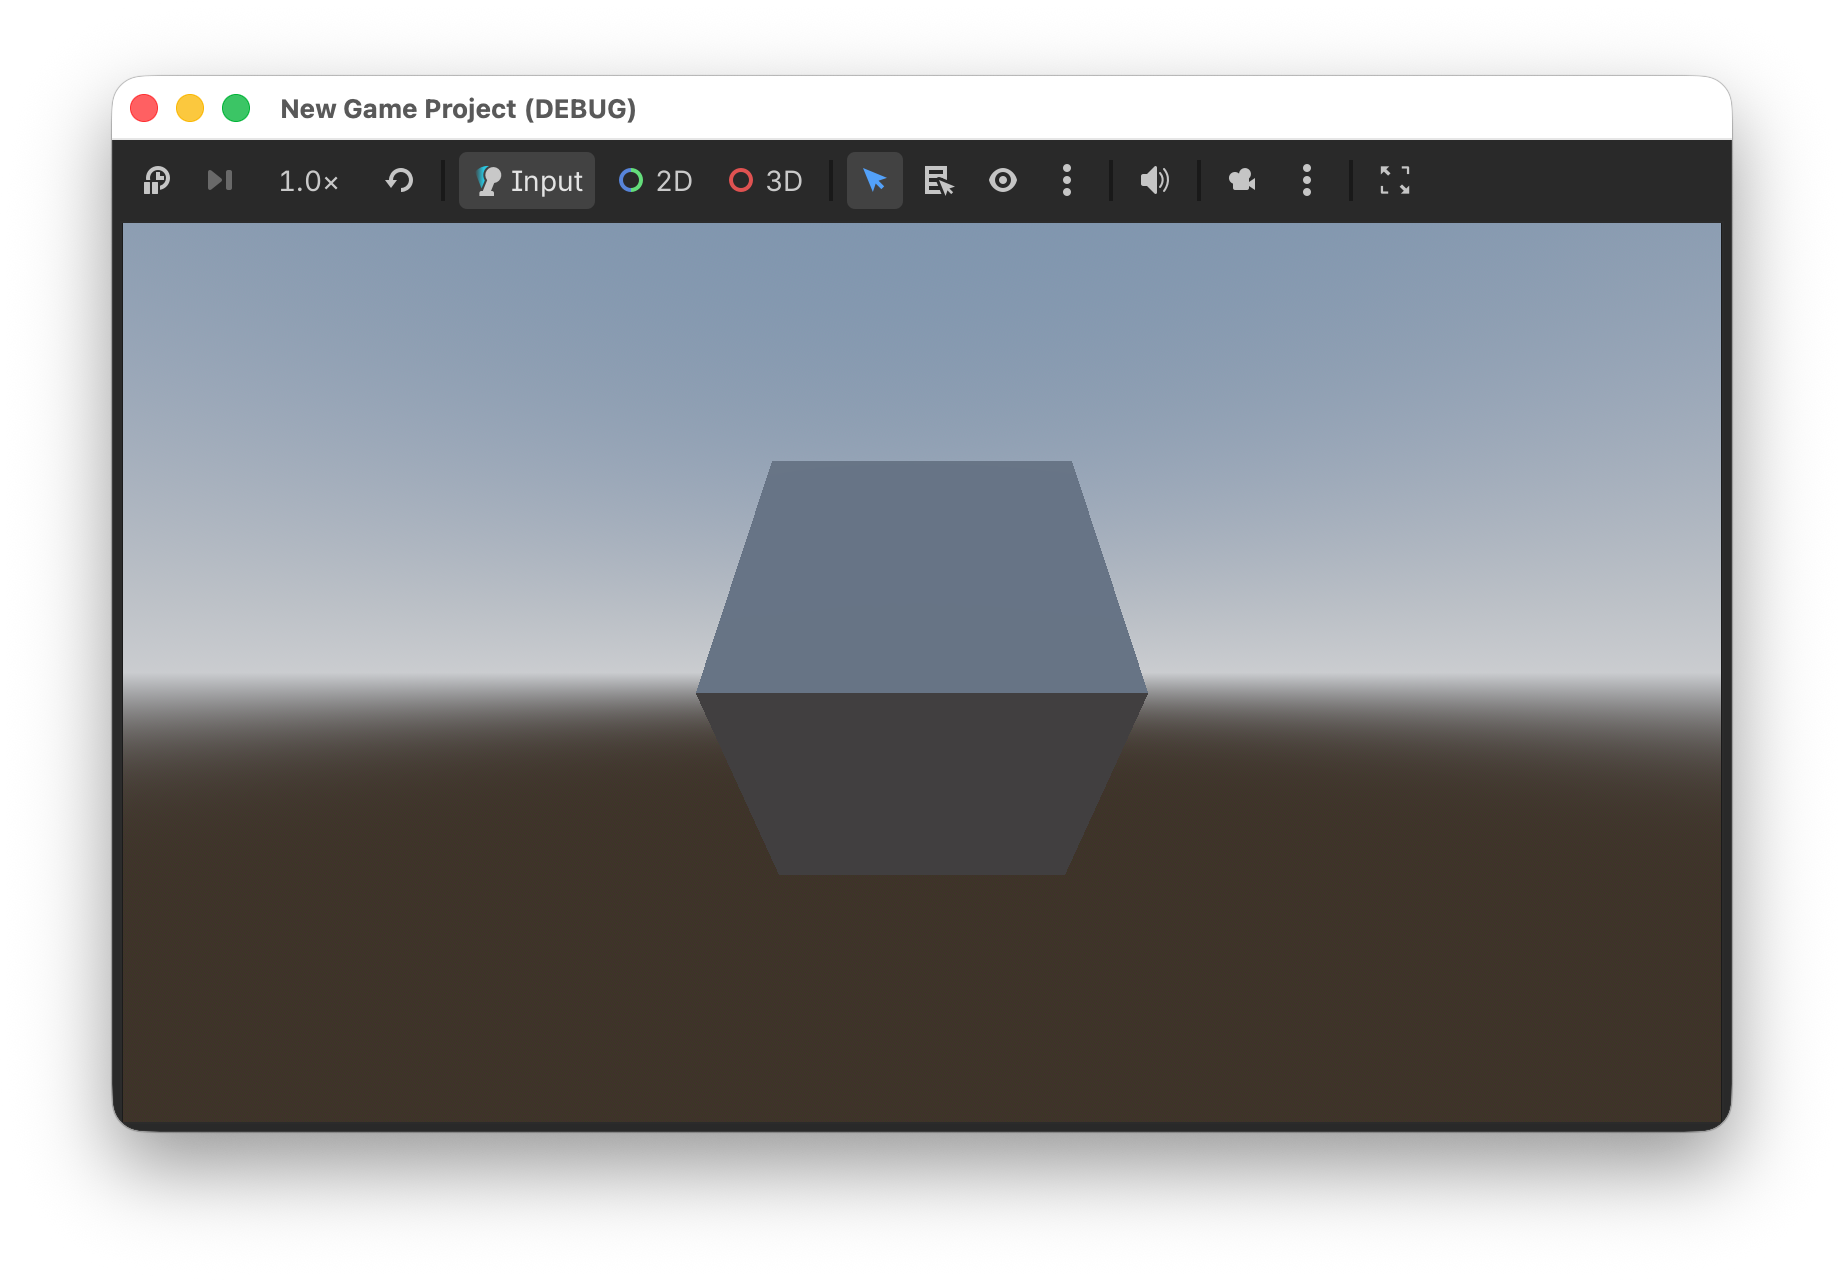
With cmd+R the game can be played. We see a cube rotating around the x-axis. The cube only rotates while in the game, not in the editor.
Execute in the editor
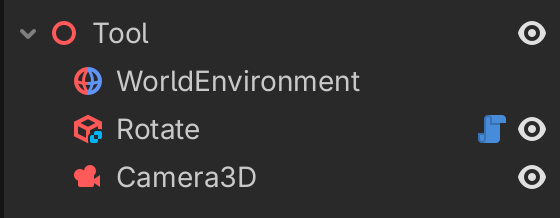
Adding the directive @tool at the beginning of the script allows to play the script in the editor as well. It allows to animate nodes by executing code in the _process() function.
@tool
extends CSGBox3D

var speed = 1

func _process(delta: float) -> void:
	rotation.x += delta * speed
Attention
Each time you make a change in the script, the scene must be reloaded with Scene > Reload Saved Scene.
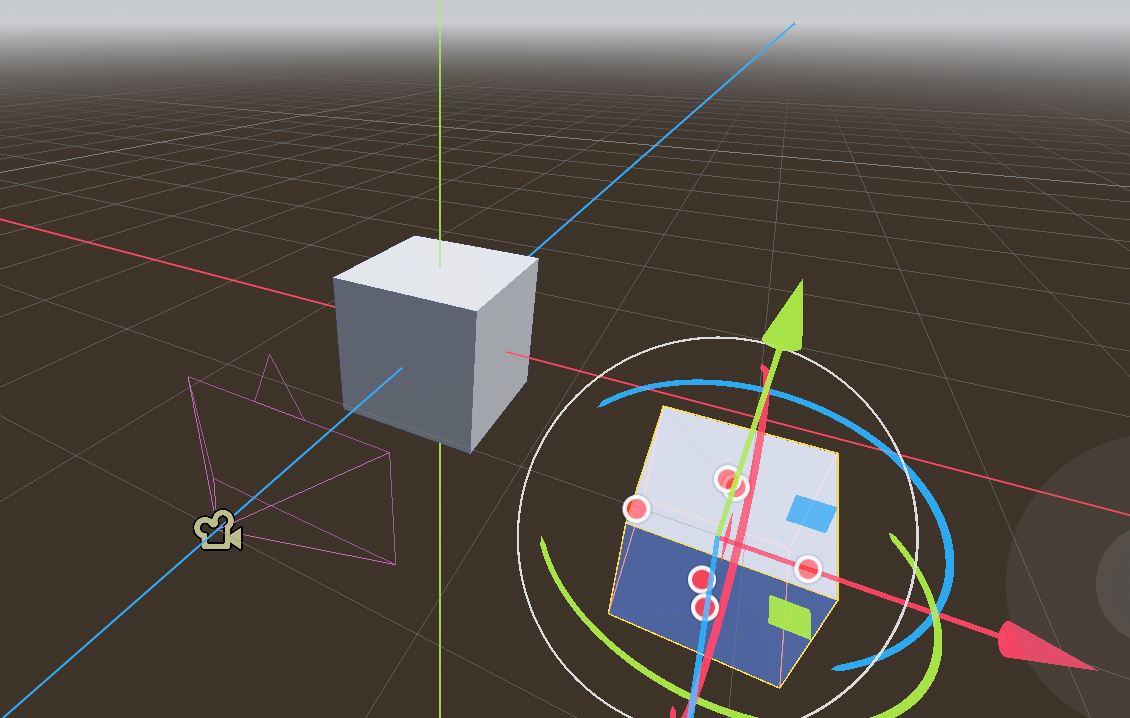
The script icon now turns blue to indicate that the script is executed in the editor via the @tool directive.
This is the static image you get in the editor.
Try to change the speed and reload the scene.
Move a cube
Now add a second cube. Attach the following script.

First we calculate the current time by accumulating the time delta to the variable t. The sin() function is used to move the cube up and down along the y-axis.
@tool
extends CSGBox3D

var speed = 1
var t = 0.0

func _process(delta: float) -> void:
	t += delta
	position.y = sin(t * speed)
The first box rotates, the second box moves up and down.
Change parameters in the inspector
It is possible to export the parameters and configure them in the inspector.
The @export directive exports the value:
it can be changed in the inspector
it will be saved with the scene
In order to change the speed from within the running script, we must use a setter function set(x).
@tool
extends CSGBox3D

@export var speed = 3:
	set(x):
		speed = x

func _process(delta: float) -> void:
	rotation.x += delta * speed
Now we can speed up the rotation, make it zero, or even inverse the direction.
Change speed and amplitude
For the moving cube, we can add two parameters: speed and amplitude.
@tool
extends CSGBox3D

@export var speed = 1:
	set(x):
		speed = x

@export var amplitude = 1:
	set(x):
		amplitude = x

var t = 0.0

func _process(delta: float) -> void:
	t += delta
	position.y = amplitude * sin(t * speed)
Instantiate new nodes
It is also possible to create new nodes.
create an
addonsfolder.create a new script called
instantiate
The @tool annotation makes the code execute in the editor.
This file extendes the CSGCombiner class, with a subclass callsed Instantiate
@tool
extends CSGCombiner3D
class_name Instantiate
The we create an exported variable for the material and three tool buttons.
The @export_tool_button("New Box", "CSGBox3D") creates a button with the text New Box and used the icon CSGBox3D.
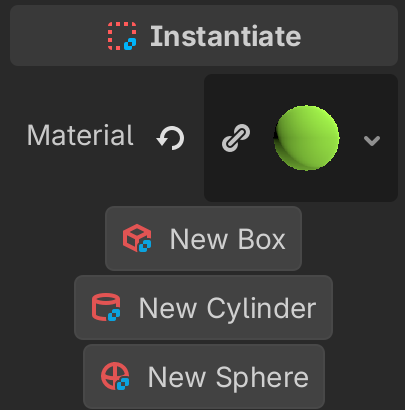
@export var material : BaseMaterial3D
@export_tool_button("New Box", "CSGBox3D") var action1 = new_box
@export_tool_button("New Cylinder", "CSGCylinder3D") var action2 = new_cylinder
@export_tool_button("New Sphere", "CSGSphere3D") var action3 = new_sphere
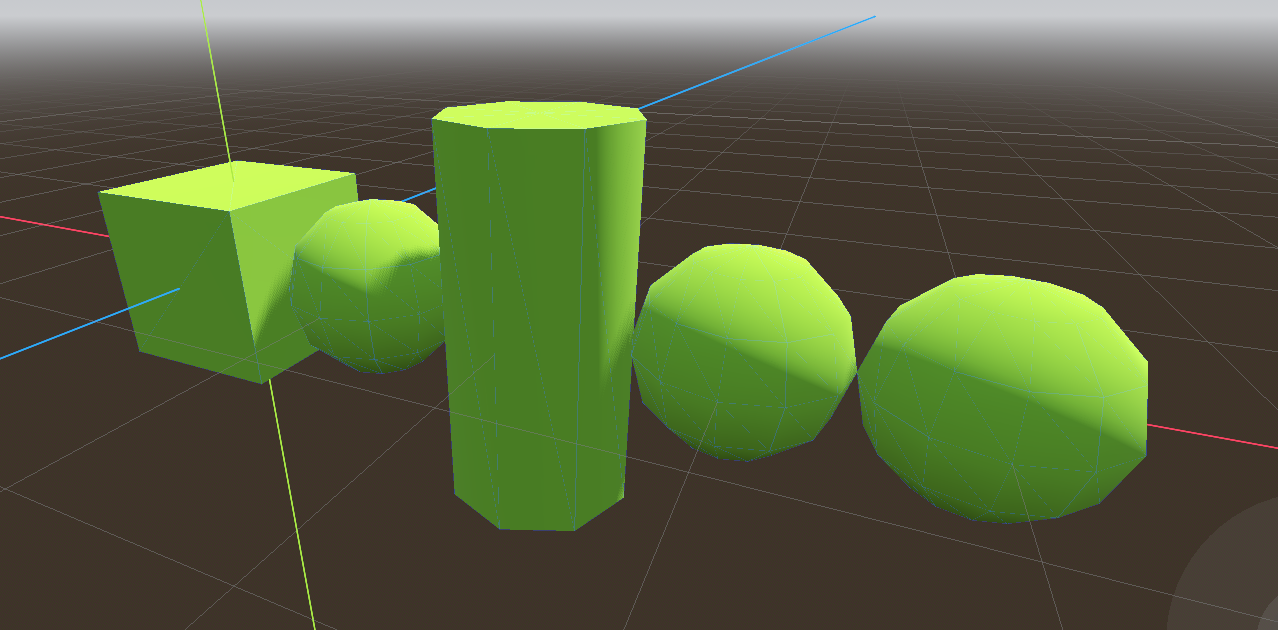
Now we define the three functions which create a box, cylinder and sphere.
The creation of a new class instance is done with the new() method.
we give it a name
attach a material
add the node as a child to the parent
CSGCombiner3Dnodeupdate the position
define the root node as parent, so the node becomes visible in the scene tree.
var x := 0

## Instantiates a CSG box.
func new_box():
	var node = CSGBox3D.new()
	node.name = "Box"
	node.material = material
	add_child(node, true)
	node.position.x = x
	x += 1
	node.owner = get_tree().edited_scene_root

## Instantiates a CSG box.
func new_cylinder():
	var node = CSGCylinder3D.new()
	node.material = material
	node.name = "Cylinder"
	add_child(node, true)
	node.position.x = x
	x += 1
	node.owner = get_tree().edited_scene_root

## Instantiates a CSG box.
func new_sphere():
	var node = CSGSphere3D.new()
	node.name = "Sphere"
	node.material = material
	add_child(node, true)
	node.position.x = x
	x += 1
	node.owner = get_tree().edited_scene_root
Clicking on the different buttons, we can now instantiate 3 types of nodes.
Deleting child nodes
We can access the child nodes and modify or remove them.
Let’s create three more tool buttons to delete either all, the first or the last child node. This time we use the Remove icon.

@export_tool_button("Delete All", "Remove") var action4 = delete_all
@export_tool_button("Delete Last", "Remove") var action5 = delete_last
@export_tool_button("Delete First", "Remove") var action6 = delete_first
The function get_children() returns a list with all children. We loop through the list and delete all children.
## Deletes all children.
func delete_all():
	for child in get_children():
		child.free()
	x = 0
With get_child(-1) we can access the last child. We must take care to call this function only if there are children.
## Deletes the last child.
func delete_last():
	if get_child_count():
		get_child(-1).free()
		x -= 1

## Deletes the last child.
func delete_first():
	if get_child_count():
		get_child(0).free()
		x -= 1
Download the Godot Script.
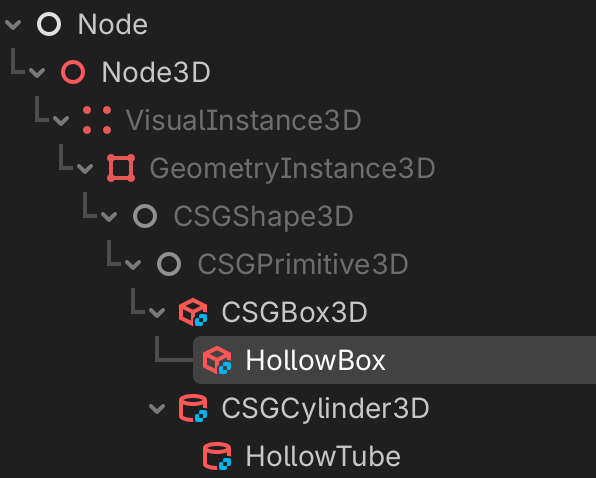
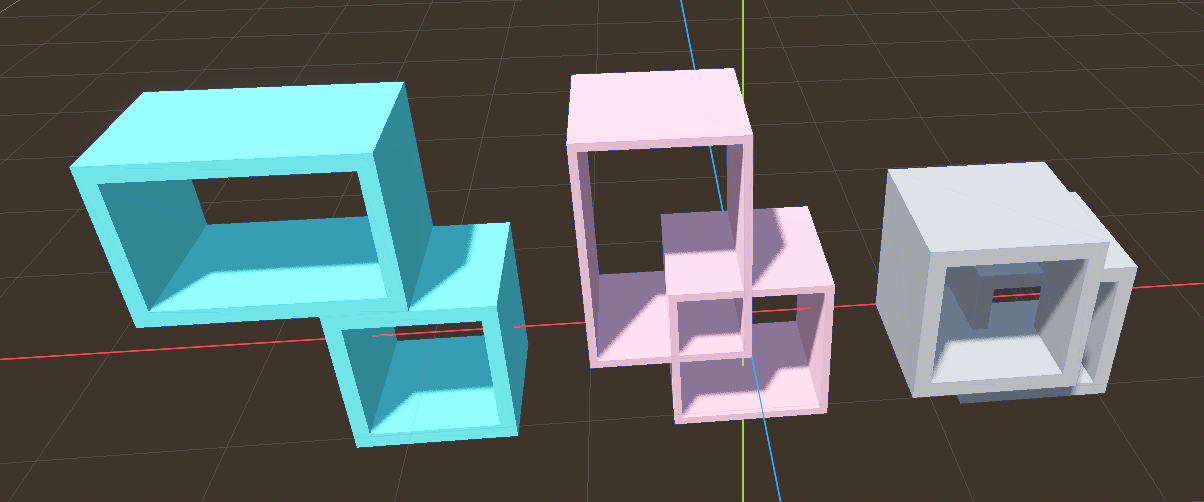
Create a hollow box
In Godot it is possible to create new types of node objects. For example, it would be convienent to have not just a filled box, but also a hollow box. We can take an existing type and modify it.
create an
addonsfoldercreate a new script file called
hollow_boxadd the following code:
@tool
extends CSGBox3D
class_name HollowBox
## Creates a hollow box.
First we make it execute in the editor (editor tool).
This script extends the CSGBox3D. The new class name is HollowBox
This already adds the new class as a child of CSGBox3D. You can test this by adding a new node to a scene (cmd+A).
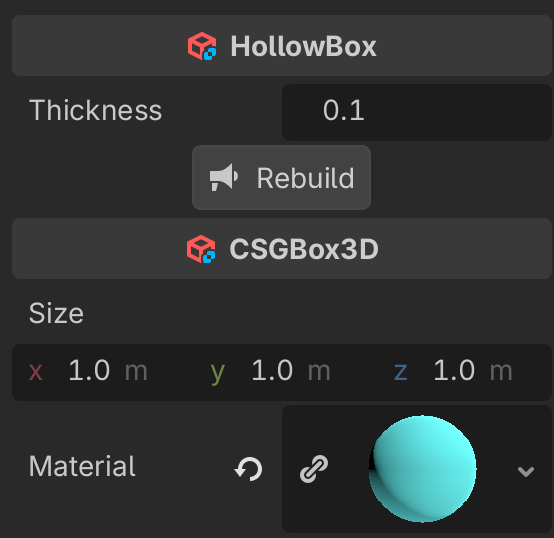
Now we add an exported variable, which lets us select the thickness of the wall.
We use a setter function to set the new value and also to call the function create().
@export var thickness := 0.1:
	set(value):
		thickness = value
		create()

## Button action to rebuild the hollow tube.
@export_tool_button("Rebuild") var action := create
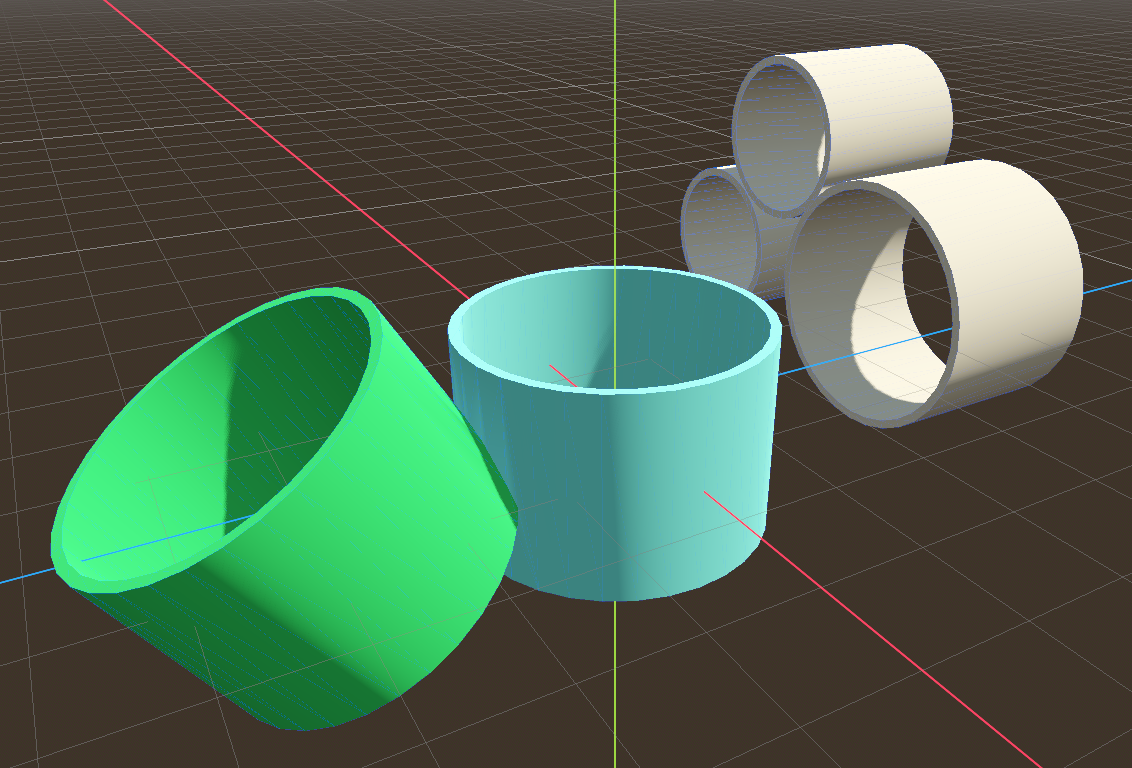
The thickness and the action button appear in the inspector panel.
We can change the wall thickness and rebuild the node.
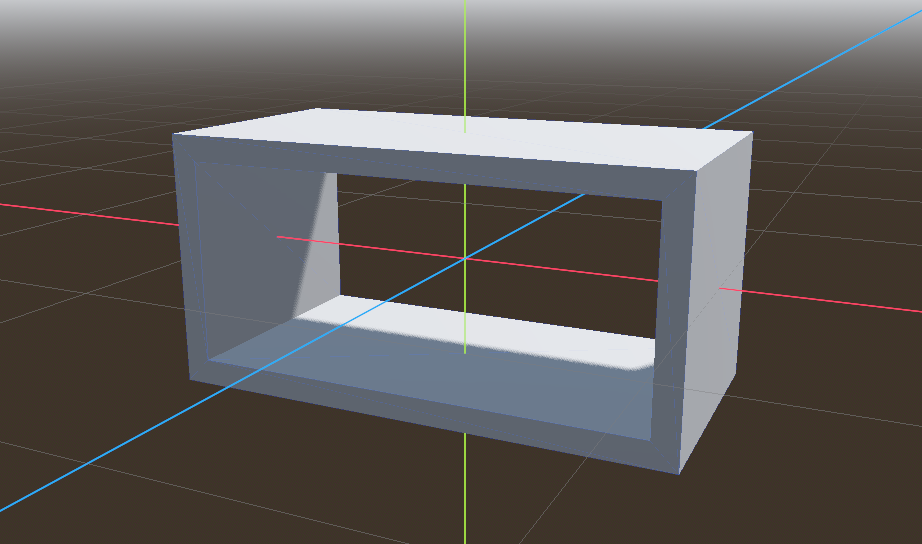
The size and material of the outer box are selected with the original CSGBox3D attributes.
The _ready() function creates the inner CSG box, which is subtracted from the base box.
func _ready():
	create()
The _ready() function first looks for a procedurally created node.
A procedurally created node does not have a parent.
If we find a node without an owner, this is our inner tube.
func create():
	var inner = null
	# find a procedurally created node
	for child in get_children():
		if child.owner == null:
			inner = child
			break
If inner does not exist, we create a new box and add it as a child.
We set up the operation to subtraction.
	if inner == null:
		inner = CSGBox3D.new()
		add_child(inner)
		inner.operation = CSGShape3D.OPERATION_SUBTRACTION
If the outer box has a material, we want to make the inside the same.
The size of the inner box is smaller by the thickness in the x and y direction.
	if material:
		inner.material = material
	inner.size = size
	inner.size.x -= thickness * 2
	inner.size.y -= thickness * 2
	inner.size.z += 0.01 # Slightly taller to avoid "Z-fighting" or thin faces
Download the Godot Script.
Create automatic documentation
All comments preceded by ## will be added as description.
## Creates a hollow box.
The help description for exported variables can be :
an inline description (
thickness)placed on the previous line (
action)
@export var thickness := 0.1:  ## Wall thickness.

## Button action to rebuild the node.
@export_tool_button("Rebuild") var action = create
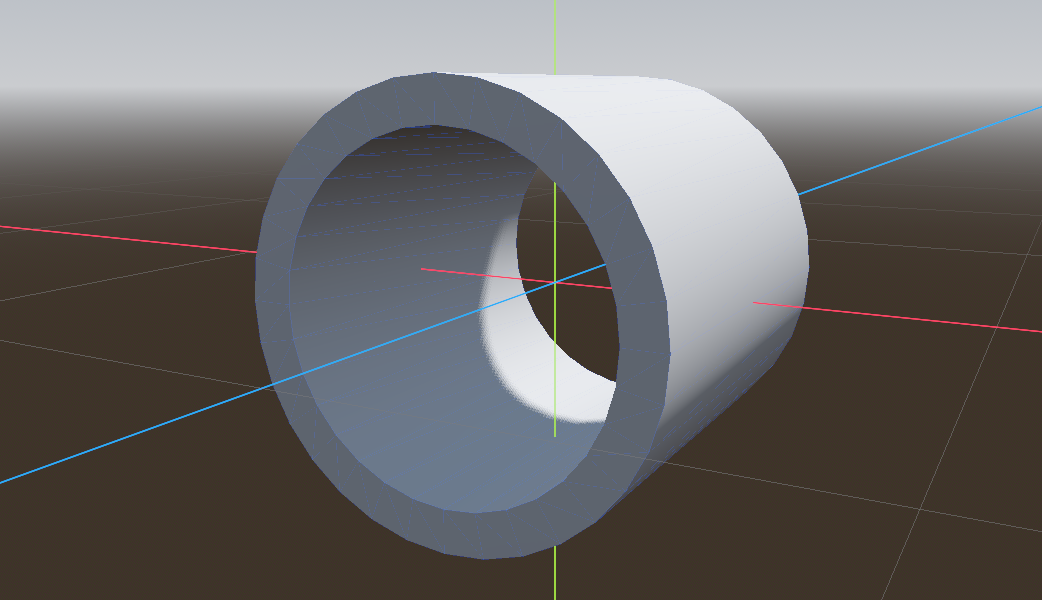
Hollow Tube
Now lets create a hollow tube, by subtracting an inner cylinder from a CSGCylinder3D node.
In the addons folder create a new file called hollow_tube.gd.
First make the script a tool with the @tool annotation so we can use it interactively.
Then extend the CSGCylinder3D class to create a new class called HollowTube.
Add a help comment with ##.
@tool
extends CSGCylinder3D
class_name HollowTube
## Creates a hollow tube.
Again, export the thickness variable and an action button. Add a help comment to them.
@export var thickness := 0.1:  ## Wall thicknness.
	set(value):
		thickness = value
		create()

## Button action to rebuild the hollow tube.
@export_tool_button("Rebuild") var action := create
The _ready() function creates the hollow tube once the node is ready, after joining the scene tree.
func _ready():
	create()
Like before, check if a procedurally created node exists already. If not, create one.
## Subtracts an inner cylinder from the `CSGCylidner3D`.
func create():
	var inner = null
	# find a procedurally created node
	for child in get_children():
		if child.owner == null:
			inner = child
			break

	# create one if it does not exist
	if inner == null:
		inner = CSGCylinder3D.new()
		inner.operation = CSGShape3D.OPERATION_SUBTRACTION
		add_child(inner)
Finally update the inner cylinder. Make the radius smaller by the wall thickness. Make the height slightly larger to avoid “z-fighting”.
	# update it
	if material:
		inner.material = material
	inner.radius = radius - thickness
	inner.height = height * 1.01 # Slightly taller to avoid "Z-fighting" or thin faces
	inner.sides = sides
	inner.cone = cone
Download the Godot Script.
Download the Godot project.